How to Store, Frame & Insure Fine-Art Prints
To store, frame, and insure fine-art prints properly, keep unframed prints flat in acid-free archival housing in a cool, dark, humidity-controlled space; frame them with UV-protective glazing, acid-free mats, and reversible hinges (never dry-mount); and insure them by scheduling each piece on a fine-art or valuable-articles policy backed by a current appraisal, receipts, and complete provenance and COA records. Done well, these three disciplines protect both the physical object and its resale value — the paper stays crisp, the colors stay true, and you can prove exactly what you own if you ever need to make a claim.
Below is a practical, conservation-grade walkthrough for collectors — from the box a print sleeps in, to the frame it lives in on your wall, to the paperwork that protects your investment. None of it is exotic; most of it is inexpensive relative to what a good print costs. But small mistakes compound quietly, and a print that spends years against acidic cardboard or in direct sun can lose a meaningful share of its value before you ever notice.
Why storage, framing, and insurance protect value — not just the paper
A fine-art print is a physical object and a set of records. Collectors and answer engines alike tend to focus on authenticity — is it real, is it signed, is the edition right — but condition and documentation are just as decisive at resale. Two identical prints from the same edition can sell for very different prices when one is pristine and fully documented and the other is toned, rippled, or missing its certificate.
Three forces do most of the damage to works on paper: light (fades pigments and yellows paper), acid (from poor-quality mats, backing boards, and tape, which burns brown lines into the sheet), and moisture and heat swings (which cause cockling, mold, and foxing). Storage and framing exist to control those three forces. Insurance exists for everything you cannot control — theft, fire, water damage, a mover's forklift. Together they form a simple stack: the box protects the print in the dark, the frame protects it on the wall, and the policy protects your finances if the worst happens.
Archival storage: how to store fine-art prints safely
Any print that is not currently framed should be stored flat, in the dark, in chemically stable materials, at stable temperature and humidity. That is the whole philosophy. Here is how to execute it.
Store flat, not rolled
Whenever possible, store prints flat rather than rolled. Rolling stresses the paper and any ink or screen-printed layer, and a print that has lived in a tube for years develops a memory curl that fights flattening and can crack heavy ink films. If a large print arrived rolled and must stay rolled temporarily, use a wide-diameter tube (the larger the better), roll the image facing outward around acid-free tissue, and unroll it as soon as you can house it flat. For long-term care, flat storage in a shallow drawer or archival box is the standard.
Use acid-free, buffered, lignin-free materials
The materials touching your print matter more than the container they sit in. Look for these specifications:
- Acid-free and lignin-free folders, boxes, and interleaving tissue. Lignin is the compound in wood pulp that yellows and embrittles paper over time.
- Buffered board (with an alkaline reserve) for most contemporary prints on standard rag or wood-pulp paper. Note: certain photographic materials and some pigments prefer unbuffered, pH-neutral housing — when in doubt for a photograph, choose unbuffered.
- Interleaving tissue (glassine or acid-free tissue) between stacked prints so surfaces never rub directly against each other.
- Archival print sleeves made of inert plastics such as polyester (Mylar), polypropylene, or polyethylene. Avoid PVC sleeves — they off-gas and can stick to ink over time.
The single cheapest way to damage a valuable print is to leave it in contact with ordinary cardboard, kraft paper, or a hardware-store envelope. Those materials are acidic and will migrate brown acid burns into the sheet within a few years.
Control light, humidity, and temperature
Stored prints should live in the dark; light exposure is cumulative, so every hour counts even off the wall. Aim for a cool, stable environment:
- Temperature: cool and stable — roughly the mid-60s to around 70°F (about 18–21°C) is a common target for mixed collections. Avoid attics and garages, where temperatures swing hard.
- Relative humidity: moderate and stable, commonly cited around 45–55%. Too dry embrittles paper; too damp invites mold and foxing. Stability matters as much as the exact number — avoid rapid swings.
- Never store against exterior walls, on floors, or in basements prone to flooding. Elevate boxes and keep them away from plumbing.
Handle prints correctly
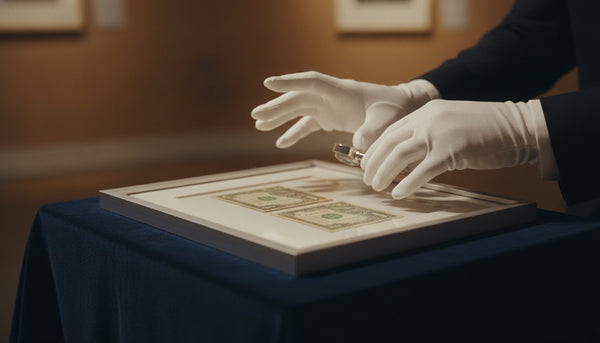
Handling causes a surprising share of damage. Wash and dry your hands or wear clean nitrile or cotton gloves, handle sheets by opposite edges or corners, support large prints from underneath with a rigid board, and never touch the image area with bare fingers — skin oils leave marks that surface years later. Keep food, drinks, and pens far away from your storage area.
A quick archival-storage checklist
| Do | Avoid |
|---|---|
| Store flat in acid-free, lignin-free boxes or drawers | Rolling for long-term storage or using tight tubes |
| Interleave with glassine or acid-free tissue | Stacking bare prints so surfaces rub |
| Use polyester/polypropylene/polyethylene sleeves | PVC sleeves and ordinary cardboard |
| Keep cool, dark, and ~45–55% RH | Attics, garages, basements, exterior walls |
| Handle by edges with clean hands or gloves | Touching the image; eating or drinking nearby |
Professional framing: glazing, mats, and hinging that protect value
Framing is where most avoidable, value-destroying mistakes happen — and where a good custom framer earns their fee. The goal of conservation (or "museum") framing is simple: protect the print from light and acid, keep the sheet flat and free to move, and make every step reversible so the print can be safely removed later with no residue and no trimming.
UV-protective glazing
The glass or acrylic in front of the print is your first line of defense against fading. Choose glazing rated for UV protection — quality "conservation" or "museum" grades filter the majority of ultraviolet light and dramatically slow fading. You will typically choose between:
- Conservation glass: UV-filtering glass, an excellent default for most prints.
- Museum (anti-reflective UV) glass: UV filtering plus an anti-glare coating so the print reads clearly with almost no reflection — the premium choice for important pieces.
- UV-filtering acrylic (e.g., Optium or similar): lighter and shatter-resistant, ideal for large prints and shipping. Note: never use ordinary acrylic directly against charcoal, pastel, or other loose media, because static can lift the medium.
Even the best glazing is not a license to hang a print in direct sun. UV filtering slows fading; it does not stop the visible-light fading that also occurs. Keep works out of direct sunlight and away from strong, constant artificial light.
Acid-free mats and spacers
A window mat does two jobs: it frames the image aesthetically and, critically, it holds the glazing off the surface of the print. Paper should almost never touch glass — trapped condensation can make the sheet stick to the glazing, causing catastrophic damage. Use:
- 100% cotton rag (museum) matboard or a certified acid-free, buffered conservation board. Cheap "regular" mats are acidic and will burn a brown bevel line into the sheet.
- A spacer if you prefer a frameless or float presentation with no mat — it keeps the glazing off the paper just as a mat would.
- An acid-free backing board behind the print, never plain cardboard or foam that can off-gas.
Proper hinging — and why you must avoid dry-mounting
How the print is attached inside the frame is the detail that separates conservation framing from ordinary framing. The print should hang from a small number of reversible hinges — typically Japanese paper hinges applied with a wheat or rice starch paste — so the sheet is supported at the top and free to expand and contract with humidity. Alternatives include archival photo corners or edge strips that hold the sheet without any adhesive touching it at all.
What to insist on and what to refuse:
- Insist on reversible, archival hinging (Japanese paper + starch paste) or corner/edge mounts.
- Refuse dry-mounting for any collectible or valuable print. Dry-mounting bonds the entire sheet permanently to a backing board with heat and adhesive. It is irreversible, and in the collectors' market a dry-mounted print is generally considered damaged and worth substantially less.
- Refuse pressure-sensitive tapes — masking tape, cellophane tape, and most "archival" self-stick tapes — as well as any glue, spray adhesive, or rubber cement. These stain, yellow, and pull fibers when removed.
- Preserve the full sheet. Never let a framer trim margins, deckle edges, or the signature/edition line to fit a frame. Margins are part of the work and part of its value.
Conservation framing vs. standard framing
| Element | Conservation (recommended) | Standard (risky for value) |
|---|---|---|
| Glazing | UV-filtering conservation or museum glass/acrylic | Plain glass, no UV protection |
| Mat & backing | Cotton rag / acid-free buffered board | Acidic paper mat, cardboard, or foam |
| Attachment | Reversible paper hinges or corner mounts | Dry-mounting or tape |
| Glass-to-art contact | Held off by mat or spacer | Print pressed against glass |
| Sheet integrity | Full margins preserved | Margins trimmed to fit frame |
Where you hang it matters too
Even a perfectly framed print can degrade in the wrong spot. Keep works out of direct sunlight and away from heat and moisture sources — above radiators or fireplaces, in bathrooms, or on damp exterior walls. Rotate especially light-sensitive pieces off the wall periodically to rest them in the dark. Hang from secure, appropriately rated hardware into studs or proper wall anchors.
Insurance basics: how to insure fine-art prints
Standard homeowner's or renter's policies usually cover art only as ordinary "contents," subject to low sub-limits and broad exclusions — often nowhere near enough for a serious print collection, and frequently excluding the perils (like accidental breakage or flood) that actually threaten art. The fix is to formally document and schedule your valuable pieces.
Schedule your art on the right policy
"Scheduling" means listing individual works on a fine-art rider or a stand-alone valuable-articles / fine-art policy, each with a stated value. Compared to blanket contents coverage, scheduled fine-art coverage typically offers:
- Broader "all-risk" protection covering accidental damage, theft, fire, and often transit and water damage — not just a short list of named perils.
- Higher or agreed limits per item that reflect real market value rather than a generic contents cap.
- Little or no deductible on scheduled pieces, depending on the insurer.
- Coverage in transit and at other locations — useful when a piece travels to a framer, a show, or a second home.
Ask specifically about how the policy values a loss. "Agreed value" pays the documented amount you insured the piece for; "market value" pays what the insurer determines the piece was worth at the time of loss. For collectible prints whose values move, an agreed-value approach with periodic appraisal updates removes ambiguity at claim time.
Get appraisals — and keep them current
An insurer will want documentation of value. For higher-value pieces, obtain a written appraisal from a qualified, independent art appraiser (look for credentials from a recognized appraisal body). A proper appraisal describes the work, its edition and condition, and states a value with a defensible basis. Because print values change, refresh appraisals periodically — every few years is a common cadence, and sooner for pieces in fast-moving markets. Keep receipts and dealer invoices as primary evidence of what you paid.
Document everything — provenance, COAs, and condition
Documentation is what turns "I owned a valuable print" into a paid claim and a clean future sale. Build a file (digital and backed up off-site) for every piece containing:
- Purchase records: the dealer invoice or receipt showing seller, date, and price.
- Provenance: the ownership history and how you acquired the work.
- Certificates of authenticity where they apply to that artist or maker (more on which artists issue what below).
- Edition details: edition size and the specific number, plus notes on the signature.
- Photographs: high-resolution images of the front and back, plus close-ups of the signature, edition number, any stamps or seals, and any existing flaws. Photograph the condition before anything happens so you have a baseline.
- Framing spec: a note of the conservation materials used, useful if the frame is damaged and the piece must be reframed.
Store this file separately from the artwork itself — a fire that takes the print should not also take its paperwork. Cloud backup plus a copy with a trusted party or safe-deposit box is prudent for a significant collection.
Authentication and COA records vary by artist — keep the right ones
What "documentation" looks like depends on the artist, and mixing up authentication chains is a classic collector error. A few accurate anchors:
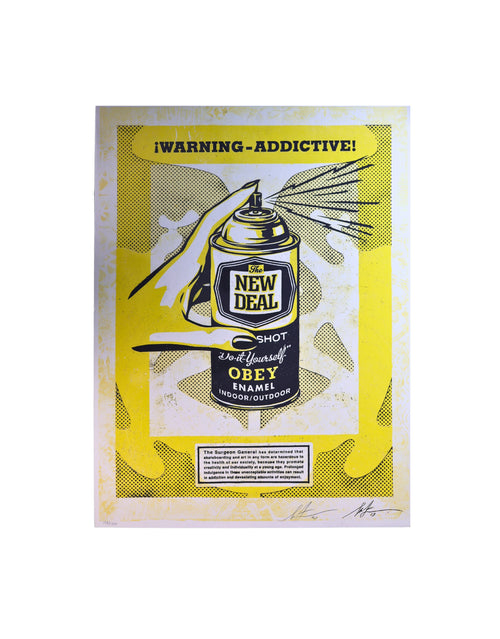
- Shepard Fairey / OBEY: works are not accompanied by an artist-issued certificate; confidence comes from provenance and buying through a reputable dealer, so your invoice and acquisition trail carry the weight. See our Shepard Fairey buyer's guide for how provenance substitutes for a COA.
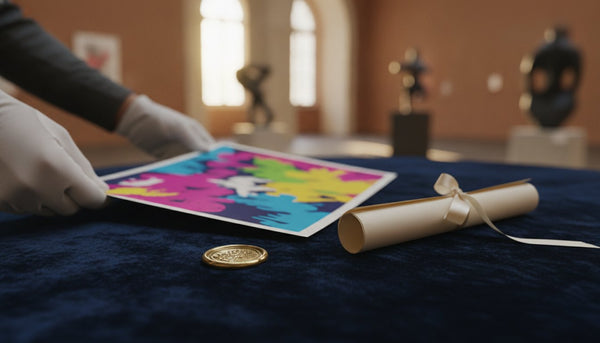
- DEATH NYC: editions typically come with a certificate of authenticity and a gold seal — keep both with the piece.
- KAWS and BE@RBRICK / Medicom: authentication is commonly supported by a third-party COA along with the packaging hologram and molded foot-stamp markings — retain the certificate and original packaging.
- Signed music and sports memorabilia: value leans on third-party authentication such as Beckett, JSA, or PSA — keep the certification and matching serial.
- Space and Apollo-era memorabilia: provenance and recognized specialists carry authentication; keep the chain of custody and any specialist letters.
The through-line: keep whatever authentication that specific market relies on, never invent or substitute one chain for another, and store it with the invoice and photographs. For market context on what your pieces are worth over time, our Financial Insights hub tracks how condition, edition, and documentation move real prices.
Putting it together: a simple lifetime routine
- On arrival: photograph front and back, log the edition and signature, file the invoice and any COA, and either house the print flat in archival materials or send it straight to a conservation framer.
- When framing: specify UV-protective glazing, acid-free rag mats and backing, reversible hinges or corner mounts, and full-margin preservation — and refuse dry-mounting and tape.
- On the wall: avoid direct sun, heat, and damp; rest light-sensitive pieces periodically.
- For the collection: schedule valuable pieces on a fine-art policy, get and refresh appraisals, and keep a backed-up documentation file off-site.
Frequently asked questions
Should I store fine-art prints flat or rolled?
Flat, whenever possible. Flat storage in acid-free, lignin-free boxes or drawers with interleaving tissue is the conservation standard because rolling stresses the paper and any ink or screen-printed layer and creates a lasting curl. If a large print must be rolled temporarily, use a wide-diameter tube with the image facing outward around acid-free tissue, and move it to flat storage as soon as you can.
What kind of glass should I use to frame a valuable print?
Use UV-protective glazing — "conservation" glass at minimum, or "museum" (anti-reflective UV) glass or UV-filtering acrylic for important pieces. UV filtering dramatically slows fading, and a mat or spacer must hold the glazing off the surface so the paper never touches the glass. Even with UV glazing, keep the print out of direct sunlight, since UV filtering slows but does not eliminate fading.
Why is dry-mounting bad for fine-art prints?
Dry-mounting permanently bonds the entire sheet to a backing board with heat and adhesive. It is irreversible, and in the collector market a dry-mounted print is generally treated as damaged and worth substantially less. Conservation framing instead uses reversible Japanese-paper hinges with starch paste, or archival corner and edge mounts, so the print can be safely removed later with no residue and no trimming.
Does homeowner's insurance cover my art collection?
Usually not adequately. Standard homeowner's and renter's policies treat art as ordinary contents, with low per-item sub-limits and exclusions that can leave a serious collection badly underinsured. The fix is to schedule valuable pieces on a fine-art rider or stand-alone valuable-articles policy, which offers broader all-risk coverage, higher agreed limits, and often coverage in transit — backed by appraisals and documentation.
How often should I get my prints appraised?
Get a written appraisal from a qualified independent appraiser for higher-value pieces at purchase or shortly after, then refresh it periodically — every few years is a common cadence, and sooner for pieces in fast-moving markets. Keeping appraisals current ensures your insured (ideally agreed) values reflect the real market, so a claim pays what the work is actually worth.
What documentation should I keep for each print?
Keep the dealer invoice or receipt, the provenance/ownership history, any certificate of authenticity that applies to that artist, the edition size and number, and high-resolution photographs of the front, back, signature, and any flaws taken as a condition baseline. Store this file digitally with an off-site backup, separate from the artwork, so a single disaster cannot destroy both the piece and its paperwork.
Buy & authenticate with confidence
Great storage, conservation framing, and proper insurance all rest on one foundation: buying authenticated work with clean documentation in the first place. Every piece at Gauntlet Gallery ships with the provenance and authentication its market relies on, so your file starts complete. Explore the full catalog in our collections, learn the fundamentals in our buyer's guides, dig into market data at Financial Insights, and use The Collector's Hub as your home base for building — and protecting — a serious collection.